About This Article
Zoom Health has supplied home health products and medical supplies to UK customers for nearly 20 years. This article is for general information only and does not constitute medical advice. It is intended to help you understand injection equipment and safe practice, not to advise on dosage, medication choice or treatment decisions. Always follow the guidance of your GP, pharmacist or prescribing clinician regarding any medication you self-administer, and seek medical attention if you experience an adverse reaction.
This is the final article in my series on home injection supplies, and in some ways it is the one that ties everything else together. I have covered needle gauge, kit selection, syringe types and sharps disposal individually, but none of that matters as much as the actual technique you use each time you inject. Good equipment makes good technique easier, but it cannot substitute for it.
I want to walk through the practical side of self-injection properly, from preparing your space through to aftercare, along with the habits that genuinely reduce discomfort and risk over a long term routine. None of this replaces the specific instruction your GP, pharmacist or prescribing clinician should have given you for your particular medication. Think of it as the framework that instruction sits inside.
Setting Up Before You Start
A calm, prepared setup does more for a smooth injection than almost anything else. Choose a clean, well lit surface and lay out everything you need before you begin, your kit, an alcohol swab, your sharps bin within easy reach, and the medication itself at room temperature unless you have been told otherwise. Searching for a needle halfway through drawing up, or realising your sharps bin is in another room once you are holding a used needle, is how minor injection sessions turn into stressful ones.
Wash your hands thoroughly with soap and water before you touch any of your equipment. This is the single most effective thing you can do to reduce infection risk, and it takes less time than anything else on this list.
Drawing Up Correctly
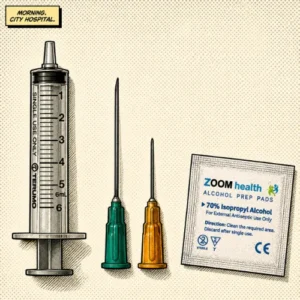
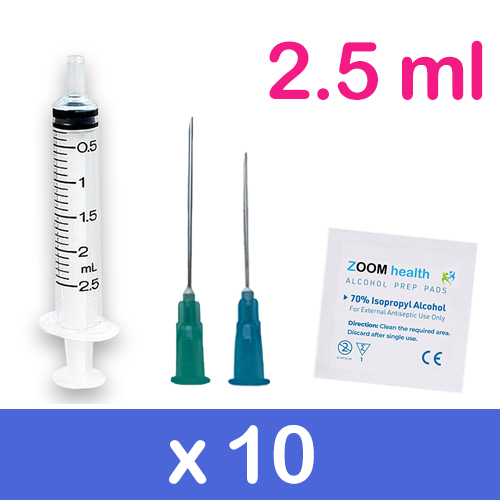
If you have read the earlier articles in this series, you will already know the basic logic, draw with a wider green needle, inject with a finer blue or orange one. A few habits make the drawing stage itself go more smoothly. Wipe the top of the vial with a fresh alcohol swab before inserting your drawing needle, even if the vial looks clean, since this removes anything that might have settled on the rubber stopper since it was last used.
Draw slightly more than you need, then tap the syringe gently to bring any air bubbles to the top before pushing them back out into the vial. Air in the syringe is not generally dangerous in the small quantities typically seen with a missed bubble or two in a standard intramuscular or subcutaneous injection, but removing it does mean your dose is accurate and your injection goes in smoothly rather than with a small pocket of air ahead of the medication.
Choosing and Rotating Your Injection Site
Site rotation is one of the most underrated parts of a long term injection routine. Injecting into the same small patch of tissue repeatedly causes a build-up of scar tissue and hardened areas under the skin, known as lipohypertrophy, which over time can actually make absorption less predictable and the injection itself more uncomfortable.
The right injection site depends on your specific medication and the depth of injection your prescriber has advised, commonly the outer thigh, the upper outer glute, or the abdomen depending on whether the injection is intramuscular or subcutaneous. Whatever sites are appropriate for you, the principle is the same: keep a simple rotation rather than always reaching for whichever site is most convenient that day. Some people find it helpful to alternate sides on a fixed schedule, left this week, right the next, simply so they are not relying on memory alone.
Before you inject, clean the chosen site with a fresh alcohol swab and let it air dry fully. Injecting through alcohol that has not yet dried can sting considerably more than it needs to, and is one of the most common reasons people report a particular injection felt much worse than usual.
The Injection Itself
Insert the needle in one smooth, confident motion rather than easing it in slowly. A hesitant approach tends to drag on the skin and causes more discomfort than a quick, deliberate insertion at the angle appropriate for your injection type. Once the needle is in, many prescribers recommend pulling back gently on the plunger first, a step called aspiration, to confirm you have not entered a blood vessel before pushing the medication in. Follow whatever specific guidance you have been given on this, since practice does vary by medication and injection type.
Push the plunger at a steady, even pace rather than rushing it. Injecting too quickly is a common cause of unnecessary discomfort, particularly with thicker oil based preparations. Once the syringe is empty, withdraw the needle in one smooth motion at the same angle it went in, then apply gentle pressure to the site with a clean swab or cotton ball for a few seconds.
Aftercare
Light bruising, mild redness or a small amount of tenderness at the injection site is common and usually resolves within a day or two. A cold compress applied briefly after injecting can help reduce swelling and discomfort if needed. Avoid massaging or pressing hard on the site afterwards, since this can occasionally push medication into surrounding tissue rather than letting it settle and absorb as intended.
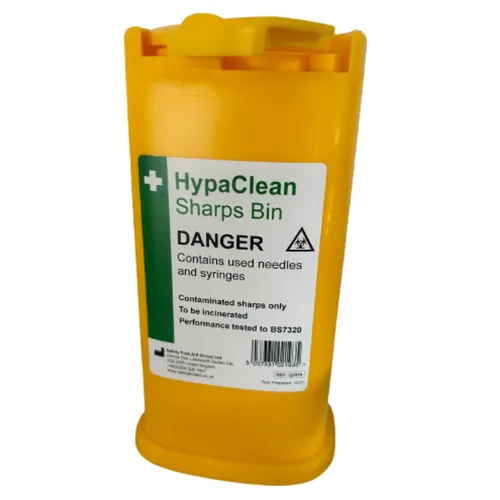
Dispose of your used needle and syringe immediately, straight into your sharps bin, before you do anything else. I covered this properly in the previous article in this series, but it is worth repeating here because it is so easy to set a used needle down “just for a second” once the injection itself is done and your attention shifts elsewhere.
When Something Doesn’t Feel Right
Most injections, once you have settled into a routine, are straightforward and unremarkable. Occasionally something will not go to plan, and it is worth knowing what genuinely needs attention rather than guessing in the moment. Significant or spreading redness, increasing pain rather than the mild tenderness that fades over a day or two, a lump that does not soften over time, fever, or any sign of infection around the injection site should be checked by your GP promptly rather than waited out.
If you ever experience sudden severe pain during the injection itself, notice blood being drawn back into the syringe unexpectedly during aspiration, or feel unwell shortly after injecting in a way that seems out of proportion to a normal reaction, stop and seek medical advice. This is exactly the situation where a quick call to NHS 111, your GP or, in a genuine emergency, 999, is the right move rather than something to push through alone.
Building a Routine That Lasts
The technique side of self-injection becomes close to automatic after the first few weeks, but the habits that protect you long term, hand washing, site rotation, immediate sharps disposal, are worth being deliberate about even once the nervousness of the early days has gone. It is precisely when something feels routine that small shortcuts start creeping in, and those are usually the moments worth catching yourself on.
Bringing the Series Together
Over this series I have covered how to choose the right needle gauge, how to size a full injection kit correctly, why our kits use Luer slip syringes and what that means for you, how to dispose of sharps safely at home, and now the technique that brings it all together. If you are starting out, I would genuinely recommend reading back through from the beginning, since each piece builds on the one before it.
Self-injection at home is entirely manageable once you understand the equipment and respect a few consistent habits. It does not need to be intimidating, and for most people it becomes a quick, unremarkable part of the week within a short space of time. If anything about your specific medication, dose or technique is unclear, your GP, pharmacist or prescribing clinician remains the right person to ask. This series is here to help you understand the equipment and the process around it, not to replace that guidance.
Anthony Cunningham – Health Writer & Editor
Anthony Cunningham, BA (Hons), MA, is a UK-based health writer and editor with over 20 years’ experience running Zoom Health, a trusted source for home health tests, preventive care, and wellness guidance. He creates clear, evidence-based articles using NHS, NICE, and WHO guidance. Where possible, content is reviewed by practising clinicians to enhance accuracy and reliability, helping readers make informed healthcare decisions.