
How to Position the Blood Pressure Monitor Cuff on the Suresign Digital Automatic Blood Pressure Monitor.
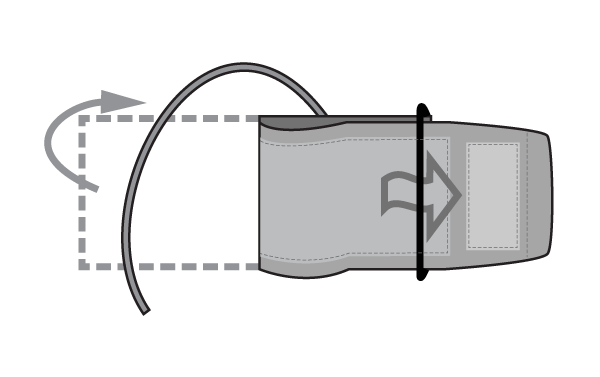
1. Put the edge of the cuff into the metallic ring.
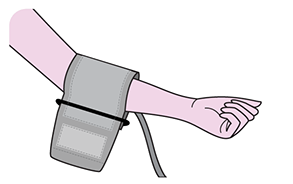
2. Put the cuff on the arm and position the tube on the inner arm. If measurement on the left arm is difficult the right arm can be used, but reading may differ by about 5-10mmHg.
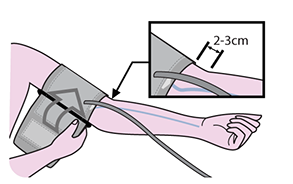
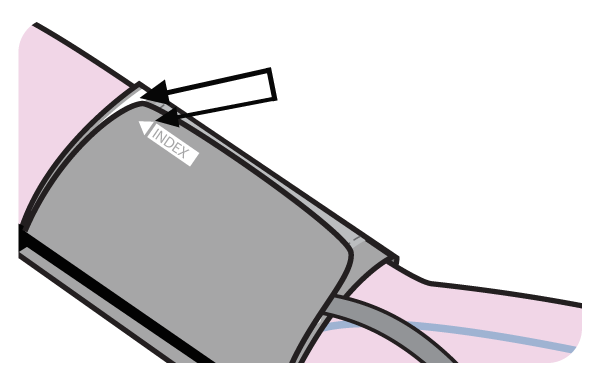
3. Wrap cuff around the upper arm with the lower edge of the cuff approximately 2-3 centimetres above the elbow. The mark with inscription <> must be over the artery of the arm.
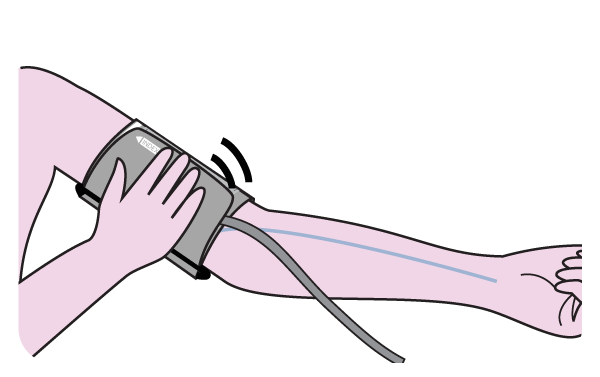
4. Press the surface of the cuff to make sure that it is attached securely. When wrapping the cuff, wrap it loosely enough around the arm so that two fingers can be placed between the cuff and the arm. If the cuff is wrapped more tightly or loosely than this, inaccurate blood pressure readings may result.
5. On the fastened cuff the mark <> must point to the area <>. This means the cuff is selected correctly and corresponds to the size of the upper arm range. If the mark points to the area marked << >> or to the left, that means the cuff is too small and the reading will be too high, so you require a Large Cuff. If the mark points to the area << >> or to the right, that means the cuff is too large and reading will be too low.
Suresign Automatic Blood Pressure Monitor
£19.99 – BUY NOW
- Professional Accuracy
- 90 memory storage & average
- Pulse rate measurement
- Listed with the British Hypertension Society
- Includes standard cuff – fits upper arm circumference 22cm-32cm